
Most of the amp problems I get called about aren’t amp problems. They’re ground problems. Lights dimming harder than they should, an amp that clicks into protect on every bass note, a whine that climbs with engine RPM, a power wire that’s warm to the touch. Nine times out of ten, somebody ran a beautiful power wire up front and then screwed the ground into a painted seat bracket in the back.
Your amplifier only makes power as well as current can flow through it, and current has to come back to the battery. The ground is half of that circuit. Treat it like half the job, because it is.
What the Ground Wire Actually Does
The positive wire brings current from the battery to the amp. The ground wire sends it back, through the vehicle’s body and chassis, to the battery’s negative terminal. On most cars and trucks the battery negative is bolted to the body and engine block, so the whole metal shell of the vehicle becomes the return path.
That’s convenient, but it means every connection along the way adds a little resistance. Paint, rust, seam sealer, spot welds, and loose bolts all count. When an amp pulls a lot of current, even a tiny bit of resistance turns into voltage drop. Less voltage at the amp terminals means less clean power, more heat, and a lot more chances for the amp to protect itself.
Match the Ground Gauge to the Power Wire
This is the rule I won’t bend on: your ground wire should be the same gauge as your power wire. If you ran 1/0 up front, you run 1/0 for the ground. The ground carries every bit of the same current. A skinny ground wire is a bottleneck no matter how thick the positive run is.
If you’re not sure what gauge your system needs, our post on what gauge power wire you need walks through it. Here’s a quick reference for typical single-amp installs with moderate run lengths:
| Amp size (RMS) | Typical power wire | Ground wire |
|---|---|---|
| Up to about 500 watts | 8 gauge | 8 gauge |
| 500 to 1,000 watts | 4 gauge | 4 gauge |
| 1,000 to 2,000 watts | 1/0 gauge | 1/0 gauge |
| 2,000 watts and up | 1/0 or multiple runs | Same as power, plus Big 3 |
Longer runs and CCA wire both push you toward the next size up. When in doubt, go bigger. Nobody ever lost a competition because their ground was too thick.
Keep the Ground Short
A ground wire should be as short as you can practically make it. I aim for under 18 inches, and shorter is better. The car’s body is already a massive conductor. Your job is just to get from the amp terminal to clean, solid metal with as little wire as possible.
Running a ground wire all the way back to the battery isn’t wrong, but on most installs it isn’t necessary either, as long as the chassis connections between the battery and the body are solid. That’s exactly what the Big 3 upgrade takes care of.
Picking the Right Ground Point
Where you bolt it down matters more than most people think. Good ground points share a few things:
- Thick, structural metal. Frame rails, floor pan near a seam, or a factory-welded stud on the body.
- Close to the amp, so the wire stays short.
- Nothing behind it you can drill into. Check for fuel lines, brake lines, wiring harnesses and the gas tank before you put a bit through anything.
- Somewhere you can get to again for inspection.
Places I avoid:
- Seat belt anchor bolts. They’re safety hardware and they aren’t designed for this.
- Thin sheet metal like a trunk lid, quarter panel skin or hatch.
- Seat brackets and bolt-on trim brackets. Too many joints between them and the body.
- Anything plastic-coated, painted underneath, or held on with rubber isolators.
Factory ground studs can work if they’re on a structural part of the body, but check them. Some carry other circuits already and some are on brackets that aren’t a great path back to the chassis.
How to Make the Ground Connection Step by Step
1. Disconnect the battery
Negative terminal first. Every time.
2. Find your spot and check behind it
Look under the vehicle if you need to. A drilled fuel line ruins more than your weekend.
3. Grind to bare metal
Use a sanding disc, wire wheel or a grinder and take off all paint, primer, undercoating and seam sealer in an area a bit larger than your ring terminal. You want shiny metal. “Mostly bare” isn’t bare.
4. Use a proper ring terminal
Crimp it properly with the right tool for that gauge, and solder it if you like. A good crimp on a quality terminal will outlast a bad solder joint every time. Heat shrink over the barrel keeps moisture out.
5. Bolt it down tight
Use a bolt and nut through the panel, or a factory stud, with a star washer to bite into the metal. Self-tapping screws loosen over time with vibration, and a big amp hitting hard is a lot of vibration. If you’re grounding to a single thin layer of floor, a backing plate or flat washer on the other side helps.
6. Seal it
Once it’s tight, a coat of paint, dielectric grease or undercoating over the connection keeps rust from creeping under the terminal. Rust is how a perfect ground turns into a bad one two years later.
Test It, Don’t Guess
You can check your ground with a basic digital multimeter. The most useful test is a voltage drop test with the system playing:
- Set the meter to DC volts.
- Put one probe on the amp’s ground terminal and the other on the battery negative post.
- Play a bass-heavy track at a loud but sane volume.
- Read the meter. Ideally you’ll see only a few tenths of a volt or less. If it’s climbing toward half a volt or more, there’s resistance somewhere in that path.
Do the same on the positive side, amp positive terminal to battery positive. Between the two tests you’ll know exactly where you’re losing voltage. Then compare battery voltage with the voltage right at the amp’s terminals while it’s playing. A big gap is lost power you paid for.
Grounding More Than One Amp
When you run a mono amp for subs and a 4-channel for speakers, ground them both to the same point. Use a ground distribution block, run one big wire from the block to the chassis, and short equal-ish wires from the block to each amp.
Grounding two amps at two different spots on the body is one of the classic causes of ground loop noise. Each spot sits at a slightly different voltage, and that difference shows up as whine or hiss through your speakers. A single ground point keeps every amp at the same reference.
Head unit RCA noise often traces back here too. If your amps are grounded clean and you still hear alternator whine, look at the head unit ground and the RCA routing next. Keep RCAs and power on opposite sides of the vehicle when you can.
Signs Your Ground Is the Problem
- Amp goes into protect on hard bass notes, then recovers.
- Headlights and dash lights dim far more than they used to.
- Alternator whine that rises and falls with RPM.
- Ground wire or terminal feels warm after a session.
- Output drops off after a few minutes of playing loud.
- Rust or corrosion visible under the ring terminal.
Any one of these is worth pulling the ground bolt and looking. Our guide on amps going into protect mode covers the other common culprits if the ground checks out fine.
What to Use
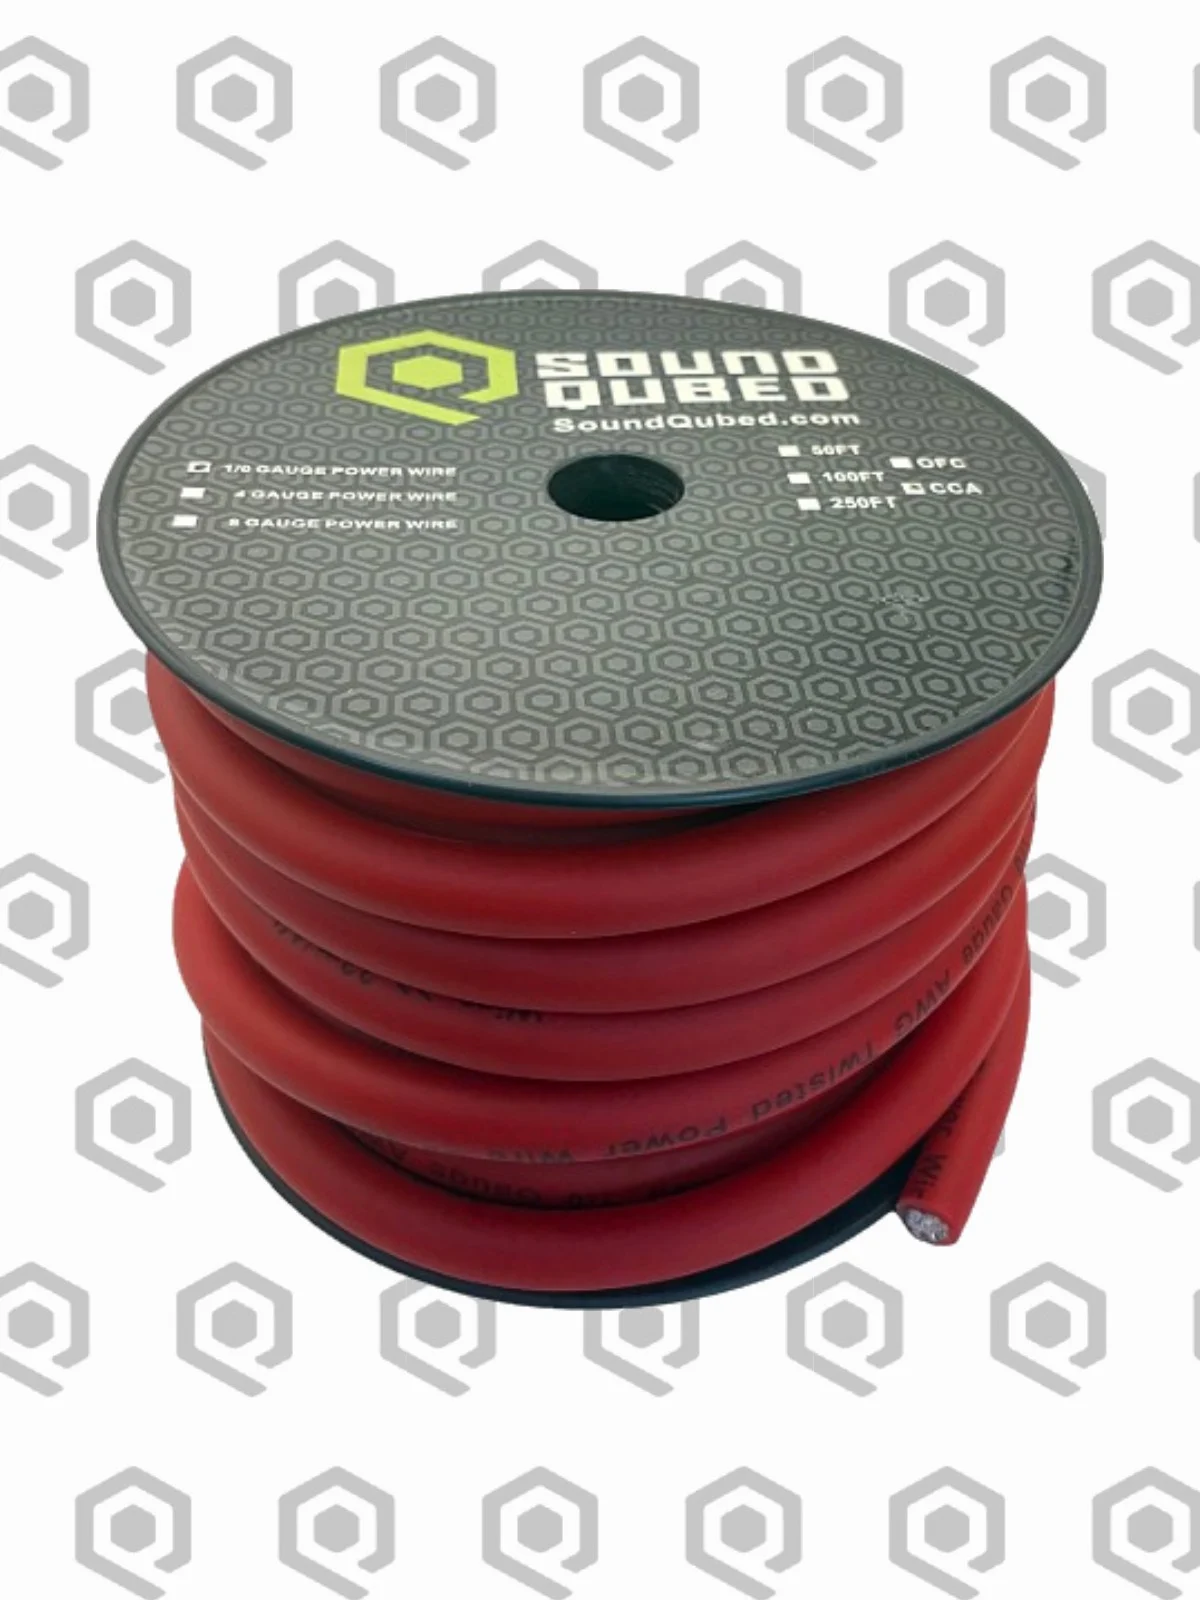
For the wire itself, buy enough to do power and ground in the same gauge. Our 1/0 gauge CCA power wire is what I’d reach for on anything from a C1-2100 monoblock on up. For smaller builds, like a 4-channel amp running door speakers, the 8 gauge CCA power wire in black makes a clean, easy-to-identify ground run. Black for ground, red for power. Future you will appreciate it.
If you’re still matching subs and amps, the Ohm Load Calculator helps you land on the right final impedance before you start pulling wire.
FAQ
Can I ground my amp to the seat bolt?
I don’t recommend it. Seat bolts and seat belt anchors are safety hardware, and they usually go through brackets and threads rather than a clean metal-to-metal contact. Find a spot on the floor pan or frame you can grind to bare metal.
Does the ground wire need to be the same size as the power wire?
Yes. The same current flows through both. A smaller ground limits the whole circuit to whatever that wire can handle.
How long should an amp ground wire be?
As short as you can make it while reaching solid metal. Under 18 inches is a good target for most installs.
Should I run the ground straight back to the battery?
Not usually. A short ground to a good chassis point works great when the factory battery-to-body and engine grounds are solid. On bigger systems, upgrade those with the Big 3 instead of running a long ground wire.
Will a bad ground damage my amplifier?
It can. Low voltage makes the amp work harder and run hotter, and repeated protect cycles aren’t doing it any favors. Fixing the ground is cheap insurance.
Get It Done Right
A good ground costs you twenty minutes and a sanding disc. Skip it and you’ll spend a lot longer chasing problems that never needed to happen. Grab your wire, amps and subs direct at soundqubed.com, or if you’d rather have a pro handle the install, find a shop near you with our Dealer Locator.