
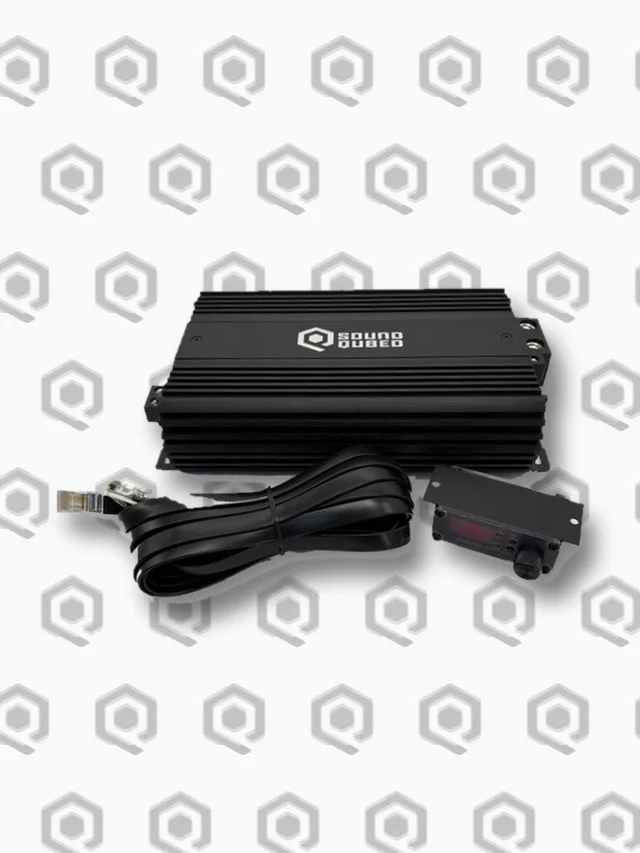
Most blown subwoofers we see on the parts bench didn’t die from too much amplifier. They died from a gain knob that got cranked to the stop because “that’s where it sounded loudest.” That’s understandable, but it’s backwards. The gain control on your amp isn’t a volume knob, and treating it like one is the fastest way to cook a voice coil.
Here’s how to set amp gain the right way, with a cheap multimeter, in about fifteen minutes. It works for a monoblock running subs and for a 4-channel running speakers.
What the Gain Knob Actually Does
Your head unit sends a low-level signal through the RCAs (or a line output converter on a factory radio). That signal might be 2 volts, 4 volts, or 5 volts at full tilt depending on the radio. The gain on your amp tells it how sensitive to be to that signal.
Set it right and the amp hits its full rated power right about where the head unit runs out of clean volume. Set it too high and the amp hits full power with the radio at half volume. Everything above that point is clipping: the tops of the sound wave get flattened into a square-ish shape, and that turns into heat in the voice coil instead of motion in the cone.
Clipped bass doesn’t always sound terrible at first, especially through a box with a lot of output. It just sounds loud. Then one day it smells funny.
What You Need
- A digital multimeter that reads AC voltage (any basic one works)
- Test tones: a 40 Hz tone for subwoofers, a 1,000 Hz tone for speakers, both recorded at 0 dB. Play them from a USB stick or your phone, not a compressed stream.
- Your amp’s rated RMS power at the ohm load you’re actually running
- A small screwdriver for the gain pot
If you have an oscilloscope or a clipping detector, even better. The multimeter method gets you safely close, and that’s what most installers use day to day.
Step 1: Know Your Target Voltage
You’re going to set the amp so it puts out exactly the voltage that equals its rated power into your load. The formula is simple:
Target voltage = √(RMS watts × impedance)
| Amp power (RMS) | Final load | Target AC voltage |
|---|---|---|
| 500 W | 2 ohm | 31.6 V |
| 1,000 W | 1 ohm | 31.6 V |
| 1,500 W | 1 ohm | 38.7 V |
| 2,000 W | 1 ohm | 44.7 V |
| 100 W per channel | 4 ohm | 20.0 V |
Two things trip people up here. First, use the RMS rating at the load you’re actually wired to, not the peak number on the box. Second, make sure you know your final load. A single dual 2 ohm sub can be wired to 1 ohm or 4 ohm, and two of them can land at 0.5, 2 or 8 ohm depending on the wiring. If you’re not sure, run your setup through our Ohm Load Calculator before you go any further.
Step 2: Flatten Everything Out
Before you touch the gain:
- Turn the amp’s gain all the way down.
- Turn off bass boost on the amp and the radio. Set the radio’s EQ, loudness and any “bass” settings flat.
- Set the amp’s crossover where you want it (low-pass around 80 Hz is a good starting point for subs).
- If you have a remote bass knob, set it to maximum. The knob should only ever turn the bass down from your calibrated level, never up past it.
Bass boost is the sneaky one. A +6 dB boost at 45 Hz means the signal at that frequency is twice as hot as everything else, and your carefully set gain is suddenly way too high in exactly the range where subs take the most abuse.
Step 3: Disconnect the Speakers
Unplug the speaker wires from the amp’s outputs. You’re measuring the amp’s output with no load, and you do not want a 40 Hz test tone at full output going through your subs while you twist a screwdriver.
Step 4: Find Max Clean Volume on the Head Unit
Play the test tone and turn the radio up to about three quarters of its maximum. Most head units start clipping their own output in the last few notches, so stopping short leaves you headroom. If your radio maxes out at 40, call it 30. Leave it there for the rest of the process.
Step 5: Turn the Gain Up to Your Target
Set your meter to AC volts and put the probes on the amp’s speaker terminals (positive and negative of one channel, or across the bridged outputs if you’re running bridged). Slowly turn the gain up until the meter reads your target voltage. Stop there.
On a monoblock like the SoundQubed C1-3200 Monoblock Car Amplifier, that’s one measurement and you’re done. On a 4-channel like the C4-900 4-Channel Car Amplifier, repeat it for each channel pair with the 1,000 Hz tone, since mids and highs won’t reproduce a 40 Hz tone the way a sub would.
Step 6: Reconnect and Listen
Turn the radio all the way down, reconnect your speakers, and play real music. Bring the volume up slowly to the same spot you used for the test. It should be loud and clean. If you hear distortion before that point, back the gain down a little. Your ears always get the final vote.
Now you can put the EQ and bass boost back to taste, but go easy. Every dB of boost eats into the headroom you just set up. If you need more output than the system makes flat, that’s a sign you need more amp or more sub, not more knob.
Common Gain Setting Mistakes
Setting it by ear at full volume
This is how most systems end up clipping. It sounds louder because distortion sounds louder. It isn’t making more clean power.
Using the wrong load in the formula
If your amp is wired to 2 ohm but you calculate for 1 ohm, your target voltage will be too low and you’ll leave power on the table. Calculate the other way around and you’ll push the amp past what it’s rated for. Check your wiring.
Matching gain to the sub’s rating instead of the amp’s
Set the gain to the amp’s rated output. If the amp makes a lot more power than your subs are rated for, pick the voltage that matches the sub’s RMS rating instead, and treat that as your ceiling. For example, one HDS3.3 12″ Car Subwoofer (Dual 2 Ohm, 1,500W RMS) with its coils wired in parallel is a 1 ohm load, so on a bigger amp you’d cap your target at about 38.7 V.
Forgetting about the electrical system
A big amp with a weak charging system will sag on long bass notes, and low voltage makes an amp clip earlier. If your headlights dim on the hits, look at a Big 3 upgrade and your alternator before blaming the amp.
Gain vs. the Bass Knob
The bass knob (like the SK1 remote on our F-Series amps) is a convenience control. It should turn the sub level down for songs that are already bass-heavy and bring it back up to your calibrated setting. If you set gain with the knob at half and then crank it to full later, you’ve just raised your gain past the safe point. Calibrate with it all the way up.
Frequently Asked Questions
Can I set gain without a multimeter?
You can get close by ear: turn the gain down, set the radio to three quarters, and raise the gain until you hear the first hint of distortion, then back off. A meter is far more accurate, though, and costs less than a recone kit.
Why disconnect the speakers to measure?
Safety. Holding a test tone at full output into a sub while you adjust is hard on the voice coil, and the no-load reading is close enough for setting gain.
Should I set gain with the engine running?
Yes, if possible. Your system lives at running voltage (around 14 V), and that’s when the amp is making its rated power.
My amp has a “gain” in volts on the dial. Is that the target?
No. Those markings are input sensitivity, not output. A setting of 2 V means the amp reaches full output with a 2 V input signal. Use the meter on the output to be sure.
Does this work for 4-channel amps running door speakers?
Yes. Use the 1,000 Hz tone and the RMS rating per channel at your speaker’s impedance, and set each pair separately.
Get It Right the First Time
Setting gain correctly is free and protects every dollar you put into the system. If you’re planning a new build, browse SoundQubed amplifiers and subwoofers at soundqubed.com, or find a SoundQubed installer near you with our Dealer Locator and let a pro dial it in.