
Most amp installs that come back to the shop don’t fail because the amp was bad. They fail because of a ground bolted to painted metal, a fuse that’s three feet from the battery, or an RCA cable zip-tied right next to the power wire. None of that is hard to get right. It just takes doing the steps in the right order and not rushing the boring parts.
This is the same process we’d walk a new installer through on their first day. It works for a mono sub amp, a 4-channel, or a 5-channel, in a car, truck, or SUV.
What You Need Before You Start
Get everything on the bench before you pull a single panel. Running to the parts store halfway through is how corners get cut.
- The amplifier, plus its manual (fuse rating and wire size recommendations live there)
- Power and ground wire in the right gauge for your amp
- An inline fuse holder and fuse sized for the power wire
- Remote turn-on wire (16 or 14 gauge is plenty)
- RCA cables, or a line output converter if you’re keeping the factory radio
- Speaker wire
- Ring terminals, heat shrink, a grommet for the firewall
- Wire strippers, a good crimper, a drill, sandpaper or a grinding disc, and a multimeter
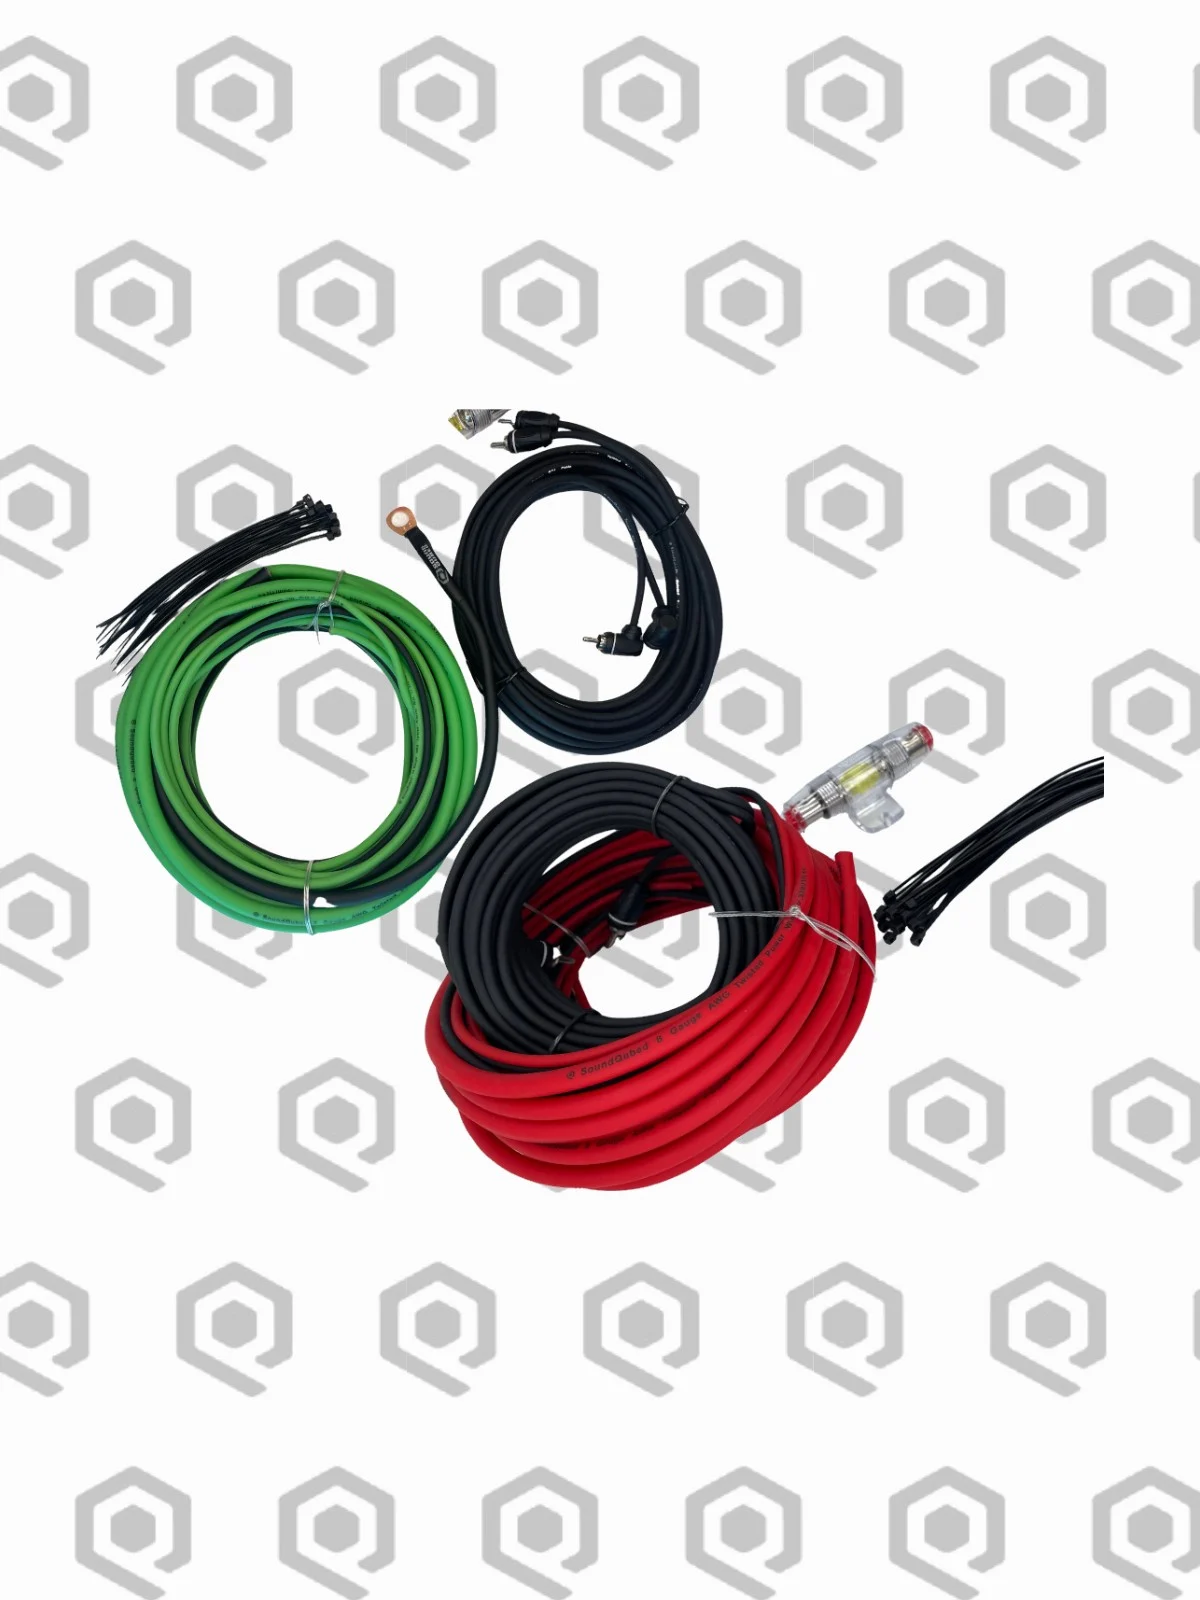
If you’re starting from scratch, an amp kit saves a lot of piecing together. Our 8 Gauge CCA Amplifier Install Kit covers power, ground, remote and the hardware for a moderate system. Bigger amps need bigger wire, and we break that down in What Gauge Power Wire Do I Need for My Car Amp?
Step 1: Disconnect the Battery
Pull the negative terminal and tuck it out of the way. Every year somebody skips this, drags a hot power wire across the chassis, and learns what a welded wrench looks like. It takes thirty seconds. Do it.
Some newer vehicles want a radio code or a relearn after the battery’s been disconnected. Check before you start so it isn’t a surprise.
Step 2: Pick the Amp Location
Amps make heat, so they need some air around them. Under a seat, on the back of the rear seat, on a trunk wall, or on an amp rack all work. A few rules:
- Mount it to something solid. Never bolt straight to the floor pan without checking what’s underneath (fuel lines and brake lines run there).
- Leave a couple inches of breathing room around the heatsink.
- Keep it reachable. You’ll be adjusting gain and crossovers later.
- Keep it dry. A truck bed toolbox or a spot under a leaky seal is asking for trouble.
Plan the ground location now too, since you want it close to the amp.
Step 3: Run the Power Wire
This is the part that takes the longest. You need to get from the battery, through the firewall, and back to the amp.
Getting through the firewall
Look for a factory grommet first. Most vehicles have one with some unused space, often near the steering column or behind the brake booster. Poke through the rubber with a pick, then push the wire through. If there’s no usable grommet, drill a hole, deburr it, and install your own grommet. Bare wire against a sheet metal edge will eventually rub through and short. That’s how fires start.
Routing inside the car
Run power down one side of the vehicle, usually under the door sill trim. Keep it away from seat rails, pedals, and anything that moves. Leave a little slack at each end.
Install the fuse near the battery
The main fuse goes as close to the battery as you can get it. The common rule is within 18 inches of the positive terminal. That fuse protects the wire, not the amp, so size it to the wire gauge, not the amp’s onboard fuses. A set-screw ANL fuse holder makes a solid connection on heavier gauge wire and is easy to service.
Leave the fuse out until the very end.
Step 4: Make a Real Ground
Half the “my amp keeps going into protect” calls we get are grounds. The ground deserves more effort than it usually gets.
- Use the same gauge as your power wire.
- Keep it short. Under 18 inches is the target.
- Find a spot on the main body or a structural point, not a bracket or a seat belt bolt that’s insulated by paint or sealer.
- Sand or grind down to shiny bare metal, a little wider than the ring terminal.
- Bolt it down tight with a star washer, then cover the area with paint or dielectric grease so it doesn’t rust.
Check it with your multimeter. Resistance between your ground point and the battery negative terminal should be close to zero. If you’re reading more than a fraction of an ohm, find a better spot.
Step 5: Connect the Remote Turn-On
The remote wire tells the amp when to turn on. On an aftermarket head unit, it’s usually a blue/white wire labeled “remote” or “amp turn-on.” Don’t use the solid blue “power antenna” lead on radios that have both, since some only send voltage when the radio’s on the AM/FM tuner.
Keeping the factory radio? Many line output converters can sense the audio signal and output a 12-volt turn-on, which saves you from hunting for a switched source.
Step 6: Run the Signal
Run RCAs or your signal wire down the opposite side of the vehicle from power. Running them together is the classic cause of alternator whine. If they have to cross, cross them at 90 degrees.
With a factory radio, you’ll tap into the speaker wires behind the dash or at the factory amp and feed a line output converter. The Q-LOC2 2-Channel Line Output Converter handles a simple sub add-on. For more detail on the factory-radio route, see Line Output Converters: Add an Amp to Your Factory Radio.
Step 7: Wire the Speakers or Subs
Before you connect anything, know your final impedance. Wiring dual voice coil subs the wrong way can drop the load below what your amp is stable at, and the amp will either shut down or cook. Plug your sub count and coil configuration into our Ohm Load Calculator and confirm it against the amp’s spec.
Watch polarity. Positive to positive, negative to negative, on every sub and every speaker. One sub out of phase with the other will cancel bass and sound weak no matter how much power you throw at it.
Step 8: Connect the Amp and Power Up
Now hook it all up at the amp, in this order:
- Ground
- Power
- Remote
- RCAs or signal
- Speaker outputs
Turn all the gains down to minimum and set the crossovers to a sane starting point. Reconnect the battery, then install the main fuse. Turn the key and check that the amp’s power light comes on with the radio and goes off when you shut it down.
Play something at low volume and listen for whine, popping, or a protect light. Any of those mean stop and troubleshoot before you go further.
Typical Starting Settings
Every vehicle is different, but these get you in the ballpark before fine-tuning:
| Setting | Subwoofer amp | 4-channel on door speakers |
|---|---|---|
| Crossover | Low pass, around 80 Hz | High pass, around 80 Hz |
| Subsonic filter | Just below the box tuning (ported) or 25–30 Hz (sealed) | N/A |
| Bass boost | Off | Off |
| Gain | Minimum, then set properly | Minimum, then set properly |
Gain is not a volume knob. Set it with a test tone and a meter or oscilloscope. Our guide on how to set amp gain without blowing your subs walks through it step by step.
Picking an Amp for Your First Install
For a first sub install, a mono amp in the 1,000 to 2,000 watt range is a sweet spot. It’s enough for one or two quality subs and it won’t overwhelm a stock electrical system. The C1-1100 Monoblock Amplifier is a good example of an amp that fits that bill without needing a second battery.
Once you go bigger, look at the electrical side. If your headlights dim on bass notes, start with the Big 3 upgrade before you buy more amp.
Mistakes We See All the Time
- Grounding to a seat bolt. Seat bolts often go through sealer or paint. Find bare body metal.
- No grommet at the firewall. It works for a month, then it doesn’t.
- Fuse at the amp only. The fuse at the battery is the one that matters for fire protection.
- Crimping with pliers. Use a real crimper and tug test every terminal.
- Cranking the gain to “match” the radio. That’s how voice coils get burned.
FAQ
How long does it take to install a car amp?
A first-timer should plan on a full afternoon, four to six hours. An experienced installer can usually do a basic sub amp in two to three hours depending on the vehicle.
Can I install an amp with a factory radio?
Yes. Use a line output converter to turn the factory speaker-level signal into an RCA signal the amp can use. Some amps also have high-level inputs built in.
Why does my amp go into protect mode?
The most common causes are a bad ground, an impedance too low for the amp, a shorted speaker wire, or overheating. Check the ground first. It’s the culprit more often than not.
Do I need a capacitor?
For most daily systems, no. If you’re having voltage drop, fix the charging system and wiring first with a Big 3, better grounds, and properly sized wire. Those make a bigger difference.
Where should the amp fuse go?
The main fuse goes within about 18 inches of the battery positive terminal, sized to protect the power wire.
Ready to Build?
Take your time on the power, the ground, and the gain and an amp install will run trouble-free for years. Shop amps, wiring and accessories direct at soundqubed.com, or if you’d rather have a pro handle it, find a local installer with our Dealer Locator.